
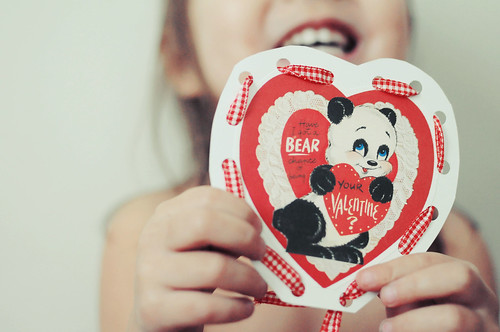
After seeing these sweet lace-up valentine's by moda fabrics, I was inspired to make my own version. I know you guys are brilliant and could probably figure this little craft out on your own... but since I like any excuse to number things and take pictures that involve hearts, the color red, and accomplished little toddler fingers... please just pardon me.
===========================================================
materials:
- vintage valentines
(i reccomend these stickers over at gigglesparkle. but there are plenty of free images available for print over the internet)
- thick computer paper
- scissors
- hole punch
- string, yarn, or ribbon (gingham if you want to get fancy)
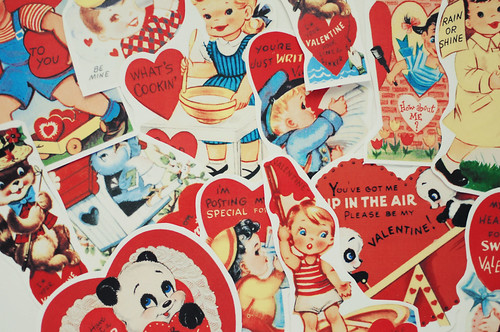
1. pull out your camera, you are going to want to take pictures of these cute vintage valentine's scattered about the floor. these are the good things in life, my friend... embrace them!
2. take a few moments to laugh at the cheesey puns on them and wish you were half as clever.
3. take a few moments to laugh at yourself. you are not 3 years old, but boy are you are super excited about this little project!
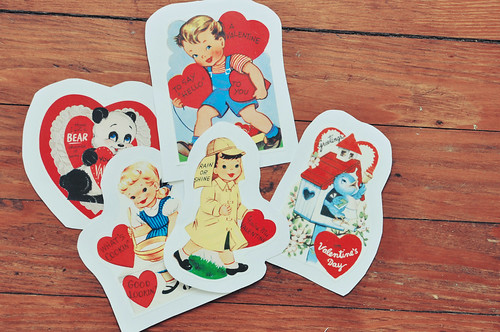
3. pick out 3 or 4 valentine's and adhere them to a thick sheet of computer paper. make sure they are spaced apart well for easy cutting.
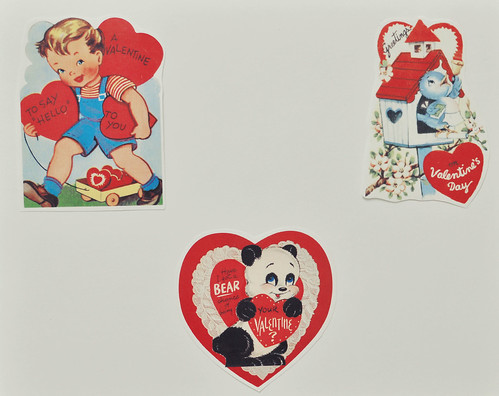
4. leaving a decent sized border, cut neatly around them
5. turn your freshly plump valentine's over so the graphic doesn't show. i found this easier, you don't worry so much about hole-punching their lights out.
6. punch holes around the perimeter of each valentine
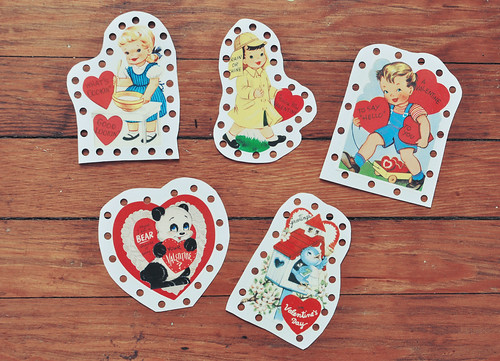
7. ignore the fact that your holes are unevenly spaced and rejoice in the fact that no one was injured during your hole punching extravagazna
8. using yarn, ribbon, or shoe strings, lace those babies up!

9. get your cheese on!! you did it!!!
10. last but not least, stash all your fancy laced up valentine's aside. it is still january, afterall.
===========================================================
additional objectives:
+ following directions. tell your child to skip a hole or two while lacing
+ counting. have your child count how many holes are left every few stitches
Happy Lacing!
xoxo
===========================================================
materials:
- vintage valentines
(i reccomend these stickers over at gigglesparkle. but there are plenty of free images available for print over the internet)
- thick computer paper
- scissors
- hole punch
- string, yarn, or ribbon (gingham if you want to get fancy)
1. pull out your camera, you are going to want to take pictures of these cute vintage valentine's scattered about the floor. these are the good things in life, my friend... embrace them!
2. take a few moments to laugh at the cheesey puns on them and wish you were half as clever.
3. take a few moments to laugh at yourself. you are not 3 years old, but boy are you are super excited about this little project!
3. pick out 3 or 4 valentine's and adhere them to a thick sheet of computer paper. make sure they are spaced apart well for easy cutting.
4. leaving a decent sized border, cut neatly around them
5. turn your freshly plump valentine's over so the graphic doesn't show. i found this easier, you don't worry so much about hole-punching their lights out.
6. punch holes around the perimeter of each valentine
7. ignore the fact that your holes are unevenly spaced and rejoice in the fact that no one was injured during your hole punching extravagazna
8. using yarn, ribbon, or shoe strings, lace those babies up!
9. get your cheese on!! you did it!!!
10. last but not least, stash all your fancy laced up valentine's aside. it is still january, afterall.
===========================================================
additional objectives:
+ following directions. tell your child to skip a hole or two while lacing
+ counting. have your child count how many holes are left every few stitches
Happy Lacing!
xoxo
Can't wait to try these!
ReplyDeleteToo cute :)
ReplyDeleteI've been looking at some Melissa and Doug lacing cards for a while, but it never crossed my mind to make my own (duh)! I'll have to try this for Elliot sometime soon. And as sweet as the vintage Valentines are and I much prefer them, he might be more interested if he's lacing Lightning McQueen!
ReplyDeleteSo great! The Service Coordinator for the Infants and Toddlers Program in side of me is very proud of your cute fine motor activity! ;)
ReplyDeleteI love this tutorial! I linked it in my Printable Sewing Cards lens on Squidoo. Thanks!!
ReplyDeleteThe cheesy puns are part of what make the cards awesome. Cheesiness can be cute.
ReplyDelete-Zane of ontario honey